What the crew names, and what they don’t
Three jobs belong on this page. Plaster repairs and the installation and removal of drywall both appear on Reeves Painting’s own list of interior services. Insulation installation services is the third, and it is named once, on their home page, alongside pressure washing. That is all they publish about it, so that is all this page says. Ask Josh about it when he visits for the estimate, and let him tell you what your house needs.
Plaster and drywall sit on that interior list next to sanding, scraping, priming and caulking, and next to professional priming and prep. They are listed as part of the same package, not as separate trades you have to hire and schedule on your own. A wall that has a hole in it, or a ceiling that has seen better years, gets repaired by the people who will paint it.
Josh Reeves’s crew works out of Lindale and serves Lindale, Longview, Tyler and the surrounding areas within a 100 mile radius. Whether the work is a patch behind a door or an entire room, the first visit is the same: someone comes out, looks at what is there, and writes it up.
Holes, cracks and the prep that follows
On their FAQ, someone asks whether Reeves Painting can also repair drywall. The answer is that their prep work before painting includes repairs for holes and cracks, and that they offer a variety of additional maintenance services for commercial or residential properties. Their four-step process says the same thing at the prep stage: all drywall repairs and any necessary maintenance are completed before the first coat, with superior plastering, priming and thorough prep work as part of the service.
Josh’s own tip for a small repair is worth knowing even if you hire him. Use spackle to fill holes and cracks with a wide, flat blade. Let it dry, sand until smooth, and apply primer to each spot. The primer step is the one people skip, and it is the one that stops a patch from showing through the color.
Their interior and exterior painting page holds the same line on ceilings and walls: good painters never skip surface preparation, and some painters might spot prime ceilings, but professionals never spot prime walls, since those will show through. Repairs, sanding and priming are not an extra on a Reeves Painting job. They are the first part of it.
Ceilings skimmed under plastic
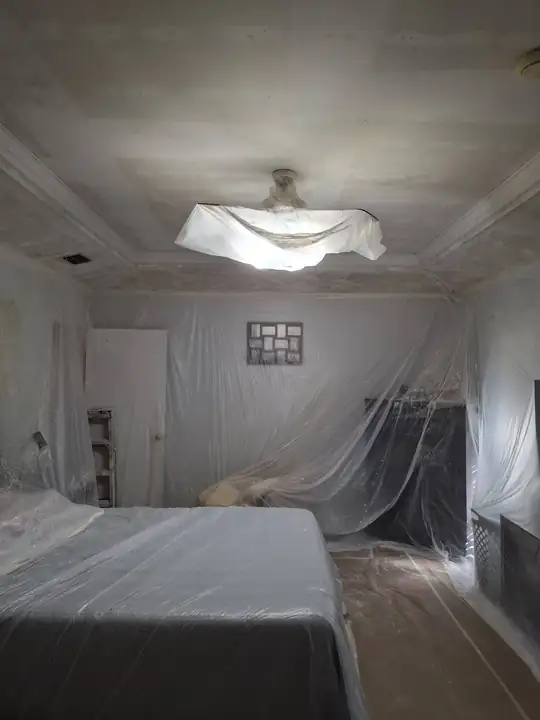
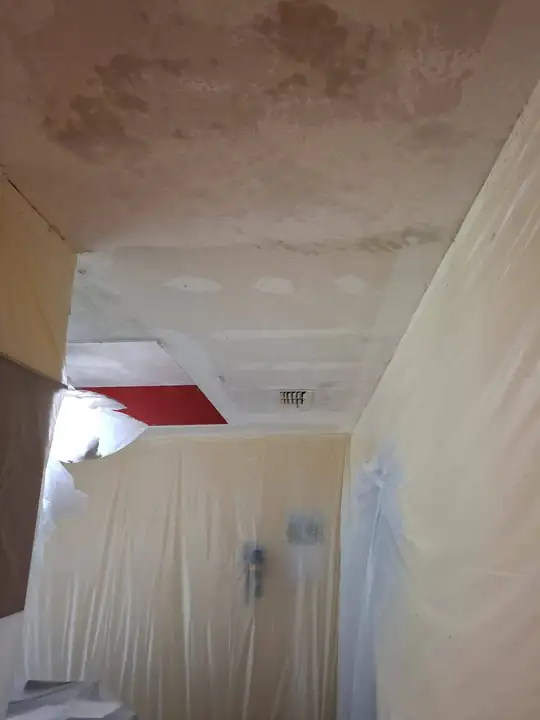
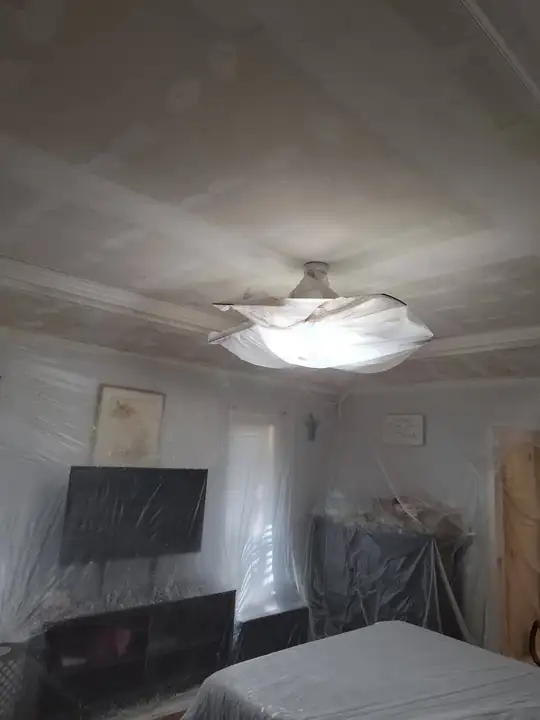
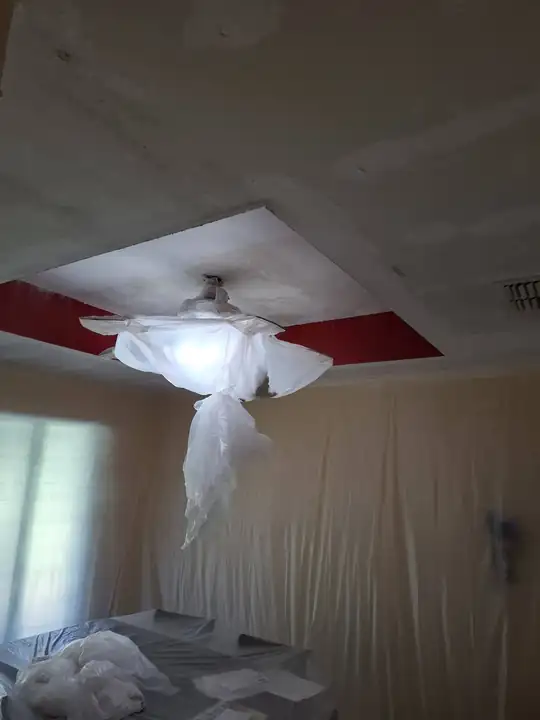
The photos below come from a single interior repaint in which the crew sealed rooms in clear plastic. Ceilings were skimmed in that state, with the fans and light fixtures bagged, the furniture covered and the walls sheeted. Their own safe description is ceilings skimmed and repainted, and the pictures show exactly that sequence: skim, mud, patch, then paint.
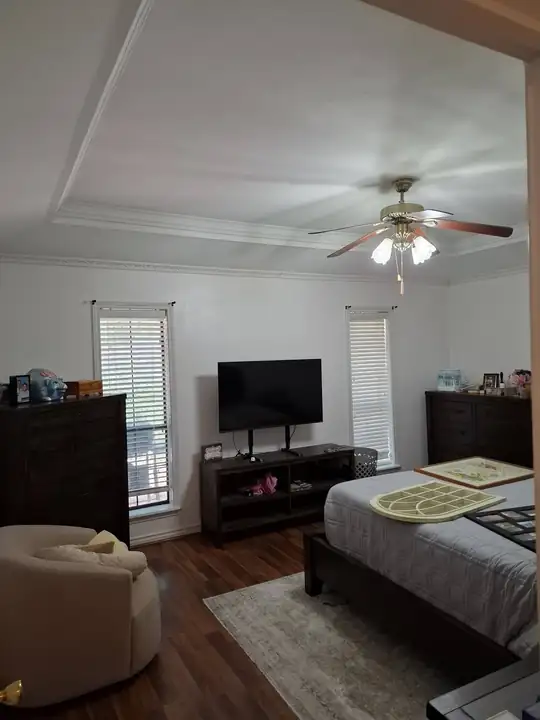
The tray ceiling in the bedroom is the clearest example. One photo catches it tented with compound still on it. The finished photo shows the same kind of room afterward, a smooth tray ceiling, crown molding, a ceiling fan and white walls. The poly-peel photo below lets you slide from one to the other.
If you have a ceiling with stains, cracks or patches that you have been looking at for years, this is the work to ask about. Describe the room when you call, mention that you have seen the photos on this page, and the estimate will be printed with materials, labor, pricing and work specifications spelled out.